A mini-split air conditioner is used in small areas like homes and garages. Unlike VRF and chilled water air-conditioning systems, it is easy to install in a short amount of time. An expert technician can install it in your space within three hours.

First, you need to install the indoor and outdoor units, followed by the copper and drain pipe work with machine connections, and then the electrical and communication cable work. That’s it. Here, I explain the whole process in 5 steps.
It’s also very cost-friendly. If you want to install it yourself or want to know more to monitor the installation process, this blog will help you.
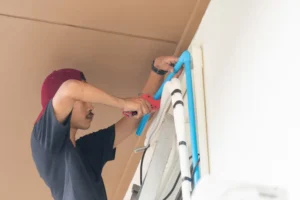
Indoor Unit Installation: (Marking, Drilling, and Installation Work)
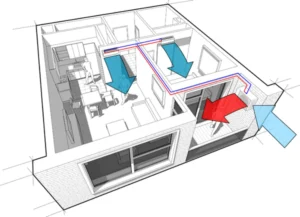
First, you need to select the best place to install the indoor unit. Normally, the top of the window is a good place, but you can install it near the window or door so that fresh air can flow perfectly into the room.

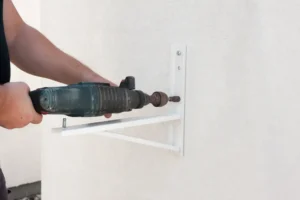
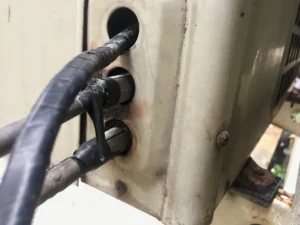
After selecting the place, set the plate on the wall and mark all the holes with a marker or pencil to ensure you drill perfectly into the wall.

In the same way, you also need to mark a hole for the copper pipes, drain pipe, and cable pulling.
This way, you can complete the drilling work before hanging the indoor unit, preventing any dust from entering the unit.
After that, fit the plate into the wall with nuts and bolts, then install the indoor unit over the plate. The indoor unit installation is now complete.
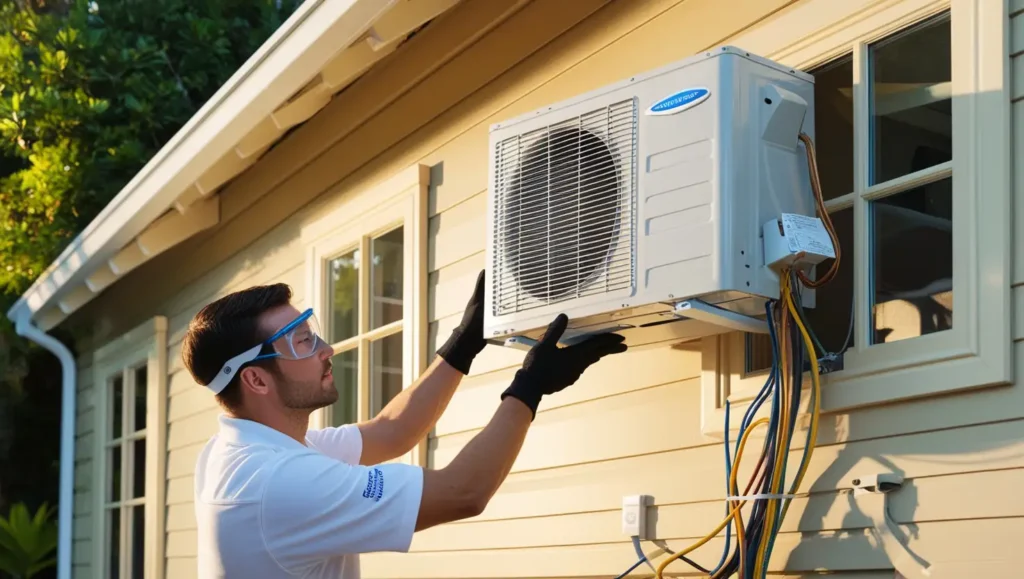
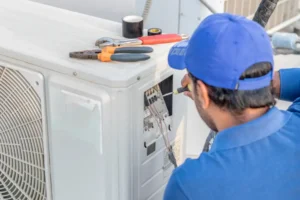
Outdoor Unit Installation:
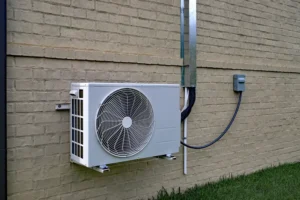
Next, we need to install the ODU unit. Here we also need to select a better place for installing it.
- Don’t Choose a place that is too far from your Indoor unit. Because if you choose long distance, Your air conditioner will take much more time to cool your room. Normally for 1 Ton (3.7 KW) Air-conditioner the maximum distance will be 10-15 ft, for 2 Ton (7.4 KW) Air-conditioner Maximum distance will be 20 ft and for 5 Ton it will be 40-50 ft. but you always try to make the distance less.
- Avoid installing the outdoor unit on the southeast side, as sunlight will overheat it, affecting the cooling quality of your indoor unit. Try to install it on the northwest side.
- Most importantly, if there is any wall or obstacle in front of the outdoor unit, hot air will return to the unit, causing the compressor to overheat. This will lead to cooling issues and could damage the compressor.
- You can install the outdoor unit on your balcony to protect it from outside weather. However, if you have space issues, you can also install the outdoor unit outside the building using an angle base. If your building has only one floor, you can install it on the rooftop or on a civil base.
After selecting the place, there are two ways to install the outdoor unit. you can hang it on an angle base and then you can set it with rubber pad & rawl bolt.
if required you also can install the outdoor unit on a civil base, by using rubber pads and rawl bolts.
The rubber pads will minimize vibration.
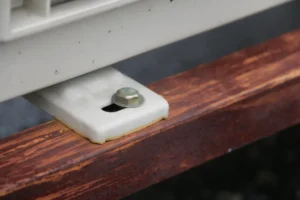
Make sure to install the outdoor unit properly because if it isn’t fitted correctly, vibration can damage the compressor and this will be the cause of the noise, vibration & overheating issues.
Copper pipe Pulling: (Flashing, Machine connection, Pressure test and Vacuum)
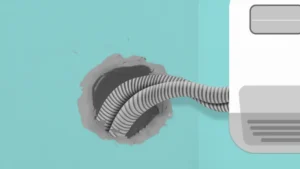
With the air conditioner, you will receive copper pipes with insulation and a communication cable.
First, drill a hole so that you can pull all the pipes and cables through. In a mini-split, we use a 3/8″ (6 mm) coil copper pipe for discharge and a 5/8″ (12 mm) coil copper pipe for supplying liquid refrigerant.
First, tape the insulated pipes with 2″ black or white tape to prevent damage to the insulation.

After that, begin pulling the pipes and then connect them to the indoor unit.
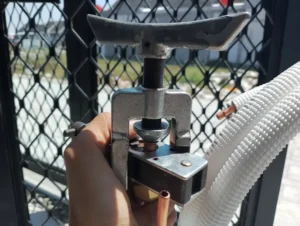
Before connection, the flaring work on the coil copper pipe needs to be completed.
After this, complete the flushing work to remove any dust inside the pipe. In this process, high pressure is applied from one side, and the dust is expelled from the other.
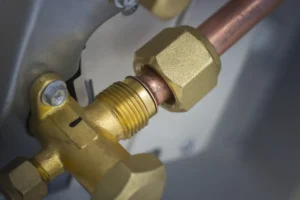
Then, connect the copper pipe to the indoor and outdoor units, and make sure to tighten the nuts properly.

In the outdoor unit, you need to open both valves so that the refrigerant can flow properly.
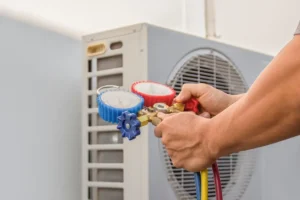
During this process, perform a pressure test with nitrogen gas. Then, spray soapy water over the machine’s connection areas. This will help detect any leaks, which can then be fixed by welding.
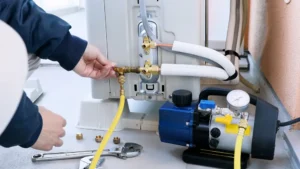
After this, vacuum the nitrogen gas out of the system using a vacuum pump and complete the refrigerant gas charge.
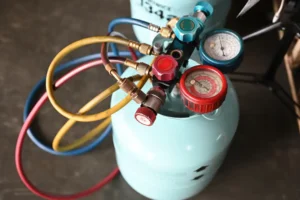
Normally, in a mini-split, we use R-22 refrigerant, but some brands prefer R-454B or R-410A in their mini-split air conditioners.
Drain Pipe Work:
You can connect the drain line to the room’s toilet or pass it outside the building using a PVC pipe. First, connect a PVC flexible pipe to the indoor unit, and then, on the other side of the flexible pipe, use electrical tape or other tape to increase the pipe’s thickness, allowing you to connect it to the PVC pipe. After that, complete the taping work properly. Depending on the site condition, you can also use only a flexible pipe.
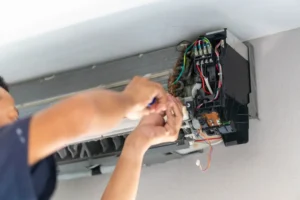
Electrical Connection work:
In a mini-split, there can be 3, 4, or 5 electrical connections. Let’s say your mini-split has 4 connections—here’s what they’re for:
– 1st Wire: Neutral connection. This connection is for the AC compressor’s common function, the fan motor, and the solenoid coil for reverse operation.
– 2nd Wire: Only for the contactor’s L1 connection.
– 3rd Wire: This is another CP wire, connecting to the compressor’s holding wire and A1 and A2 contactors (if A1 is connected to the neutral cable, the connection will be with A2).
– 4th Wire: For the fan motor connection.
After turning on the AC, the indoor unit blower motor and the outdoor unit fan motor will start. After about 3 minutes, the compressor will also begin operating.
If your mini-split has a heating mode, there will be an additional connection:
– 5th Wire: Solenoid line wire for when the AC operates in heating mode.
After this, a white cable from the indoor unit must be connected to the outdoor unit. This cable has no negative or positive side—it’s a sensor. If the AC is providing too much temperature in your room, this sensor will turn off the outdoor unit’s compressor.
Once all the electrical connections are complete, connect the communication cable to the indoor and outdoor units. Now, it’s time to turn on the air conditioner.